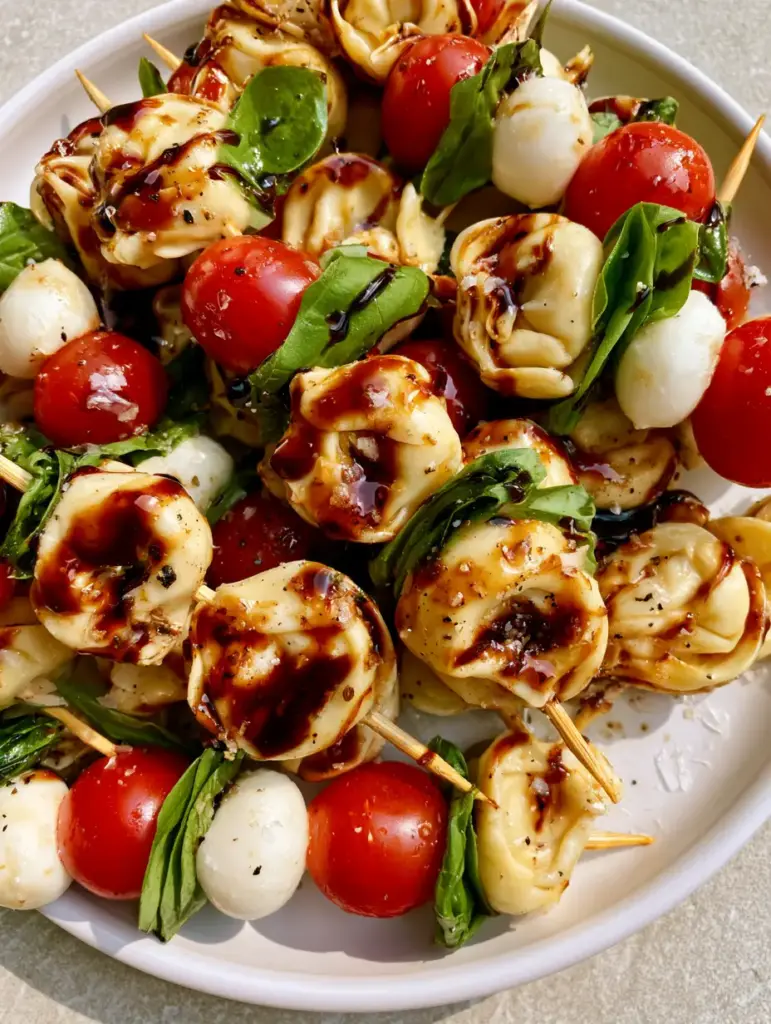
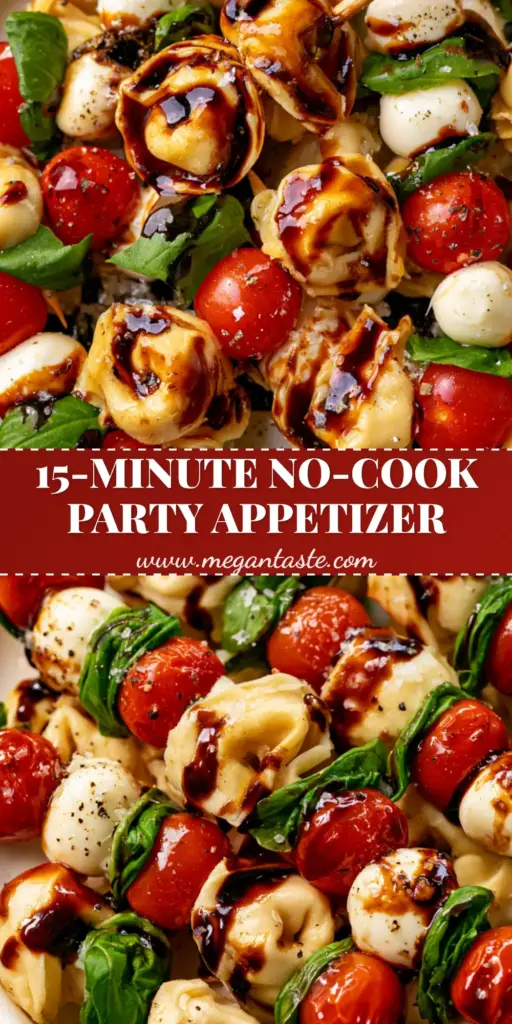
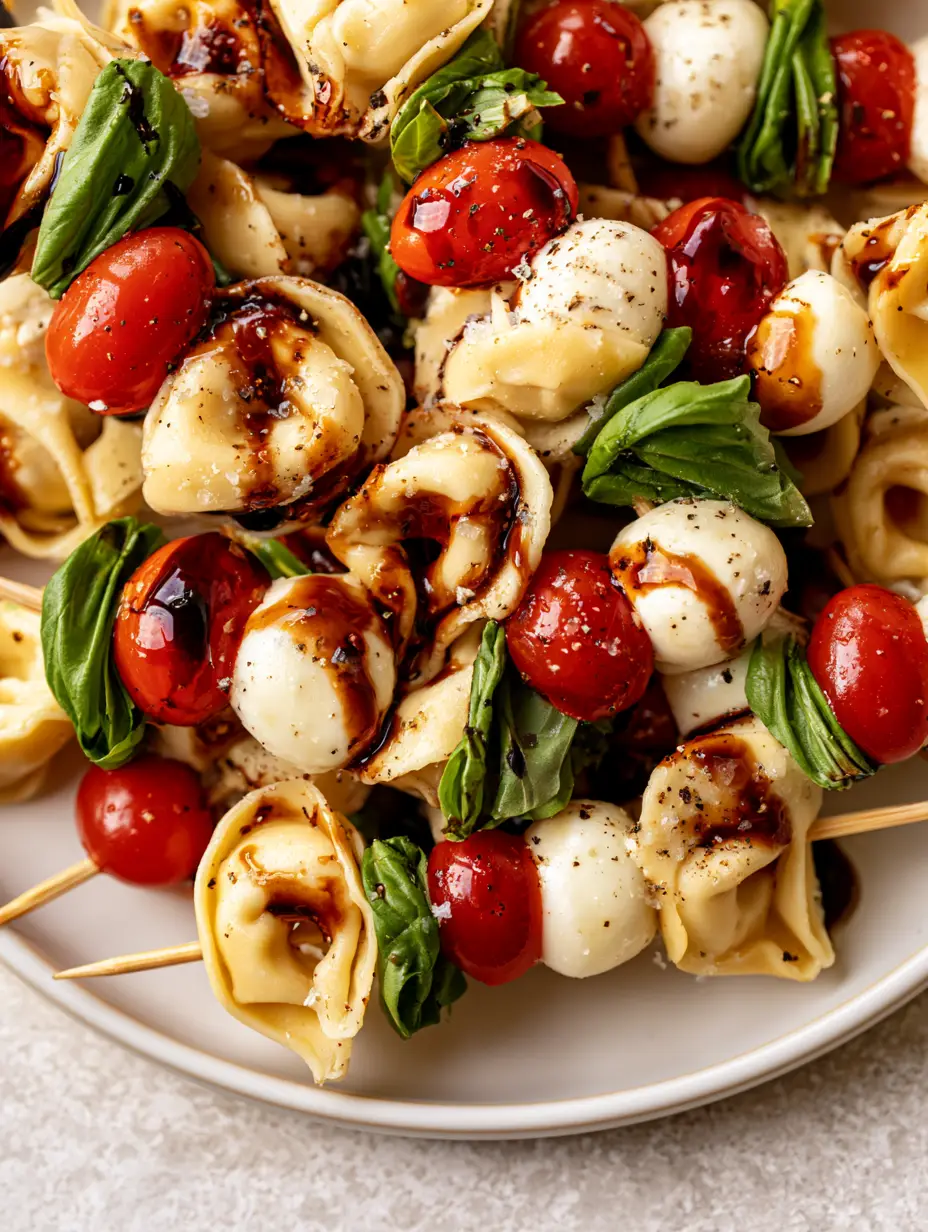
Caprese Tortellini Skewers are the ultimate elegant appetizer that combines the classic flavors of a bright Italian salad with the hearty satisfaction of cheese-filled pasta. Whether you are hosting a summer garden party or looking for a sophisticated addition to your holiday spread, these skewers deliver a visual and culinary punch. The combination of plump cheese tortellini, milky mozzarella, and ruby-red tomatoes creates a vibrant display on any white ceramic platter.
If you have been searching for a recipe that is both Pinterest-viral and incredibly easy to assemble, these Caprese Tortellini Skewers are your answer. By utilizing fresh ingredients and a high-quality balsamic reduction, you can create a restaurant-quality starter in under 20 minutes. The glossy mahogany finish of the glaze against the matte pasta and bright green basil makes this dish a focal point of any table setting.
Why These Caprese Tortellini Skewers Will Be Your New Go-To
- Visual Masterpiece: The contrast between the bright ruby-red cherry tomatoes and the vibrant green basil leaves creates a stunning aesthetic that demands attention.
- Textural Harmony: You get the soft, al dente chew of the tortellini, the smooth creaminess of mozzarella pearls, and the snap of fresh tomatoes in every single bite.
- Flavor Explosion: A thick, glossy, dark mahogany balsamic glaze adds a sweet and tangy depth that elevates the simple freshness of the Caprese components.
- Perfectly Portioned: These are the ultimate finger food, allowing guests to mingle while enjoying a mess-free, gourmet snack.
Much like my favorite sheet pan kielbasa and tortellini, this recipe celebrates the versatility of cheese pasta in non-traditional ways. It’s all about layering flavors and textures for maximum impact with minimal effort.
Essential Ingredients for the Perfect Skewer
To achieve the look in our Visual Recipe Blueprint, you need to be selective with your ingredients. Quality is key when the preparation is this simple.
Cheese Tortellini: 10 oz (280g) of refrigerated cheese-filled tortellini. You want these to be plump and soft once cooked, providing a sturdy base for the skewer.
Fresh Mozzarella Pearls: 8 oz (225g) of “perline” or small mozzarella pearls. These should be milky white and moist, offering a cooling creaminess to balance the glaze.
Cherry Tomatoes: 1 pint (approx. 300g) of ripe cherry tomatoes. Look for the deepest red color possible to ensure they are sweet and juicy.
Fresh Basil Leaves: 1 large bunch of vibrant green basil. We will fold these in half to create a thick “leafy” layer that traps the balsamic glaze.
Balsamic Glaze: 1/2 cup (120ml) of thick, high-shine balsamic reduction. It must be viscous enough to catch the light and stay put on the skewers.
Seasoning: Flaky sea salt and freshly cracked black pepper. These tiny flakes are visible on the surface and provide the necessary savory punch.
How to Assemble Gourmet Caprese Tortellini Skewers
1. Preparing the Pasta Base
Bring a large pot of salted water to a boil. Add the 10 oz (280g) cheese tortellini and cook according to package instructions, usually about 2-4 minutes. You are aiming for a perfect al dente texture; if they are too soft, they will fall off the skewers.
Drain the pasta immediately and rinse with cold water. This stops the cooking process and prevents the tortellini from sticking together. Toss them with a tiny drizzle of olive oil if you aren’t assembling right away.
2. The Art of the Fold
Take your fresh basil leaves. If they are large, fold them in half. This creates a “pocket” that holds the balsamic glaze later. Small leaves can be used whole, but the double-layer of a folded leaf looks more professional on the wooden skewer.
Ensure your mozzarella pearls are drained and patted dry. Excess moisture from the cheese can make the balsamic glaze run, which we want to avoid for that high-shine, mahogany finish.
3. Threading the Components
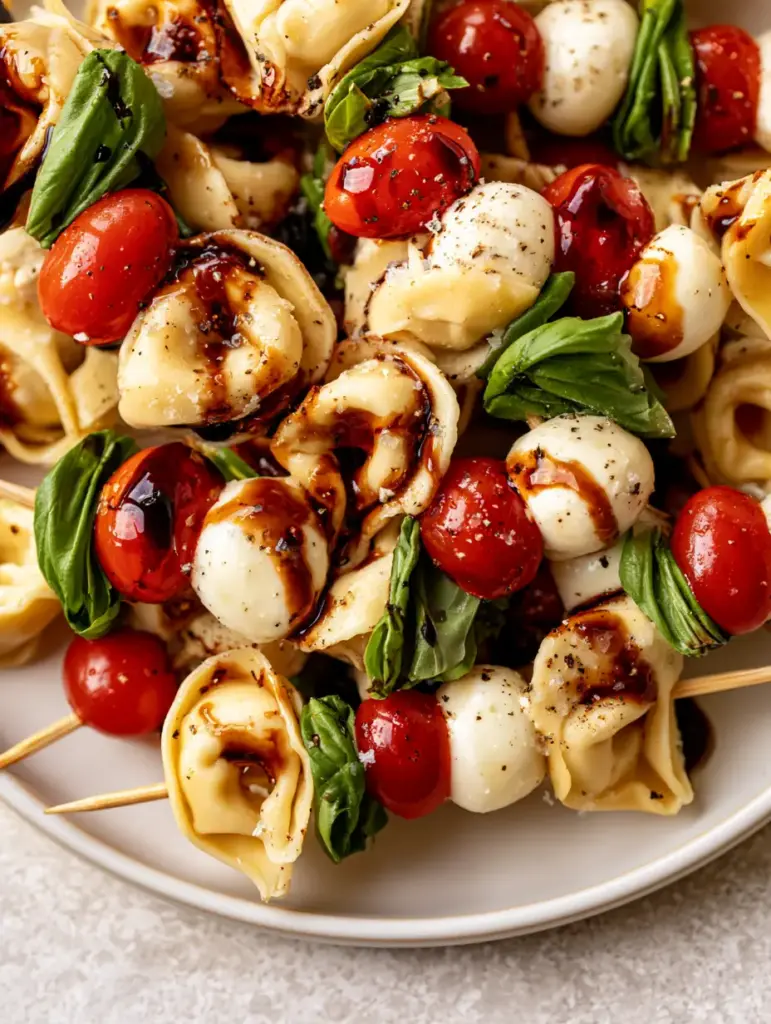
Using 4-inch (10cm) wooden skewers, begin the assembly. Start with one cheese tortellini at the bottom. Follow with a folded basil leaf, a mozzarella pearl, and finally, a ruby-red cherry tomato at the top.
Align them neatly so they sit uniformly on your white ceramic platter. Leave a small amount of space at the bottom of the skewer so guests can easily pick them up.
4. The Glossy Finishing Touch
Just before serving, arrange the skewers on a clean, light grey stone or ceramic surface. Take your thick balsamic glaze and, using a spoon or a squeeze bottle, artfully drizzle it across the skewers in a zig-zag motion.
Finish by sprinkling flaky sea salt and a generous amount of cracked black pepper. The salt flakes should be clearly visible, catching the natural daylight to create that gourmet food photography look.
Expert Tips for Success
- Don’t Overcook the Pasta: A mushy tortellini won’t hold the skewer. Aim for slightly firm so it stays secure.
- Temperature Control: Serve these slightly chilled or at room temperature. Cold mozzarella pearls have the best “snap” and texture.
- Drizzle Last: Only apply the balsamic glaze right before serving. If it sits too long, the acid can wilt the basil and the color can bleed into the cheese.
- Variety Matters: If you love these Italian flavors, try pairing them with a more substantial main like my buffalo chicken alfredo pasta or even a light spicy coconut grouper for a fusion dinner party.
Storage and Make-Ahead Instructions
You can assemble the Caprese Tortellini Skewers up to 4 hours in advance. Keep them tightly covered with plastic wrap in the refrigerator on your serving platter.
Pro Tip: Do NOT add the balsamic glaze, salt, or pepper until you are ready to walk the platter out to your guests. This keeps the presentation pristine and prevents the tomatoes from weeping.
Leftovers can be stored in an airtight container for up to 24 hours. The basil will likely darken, but the flavors will remain delicious. I often chop up leftover skewers and toss them into a bowl with some garlic potatoes and green beans for a quick lunch the next day.
What to Serve With This Recipe
These skewers are incredibly versatile. They pair beautifully with other grilled items like Hawaiian teriyaki chicken kabobs for a summer BBQ. The acidity of the tomatoes and balsamic helps cut through richer, creamier dishes, making them a great palate cleanser between courses.
Frequently Asked Questions
It is best to assemble them no more than 4-6 hours in advance to keep the basil fresh. Always wait to drizzle the balsamic glaze until right before serving.
Yes, you can use dried tortellini, but refrigerated tortellini tends to be plumper and has a better texture for skewering. If using dried, be careful not to overcook them.
Yes, you must cook the tortellini until al dente. Ensure you rinse them in cold water immediately after boiling to stop the cooking and prevent them from becoming too soft to stay on the skewer.
Drain the mozzarella pearls well and pat them dry with a clean paper towel before assembling the skewers. This prevents the moisture from diluting the balsamic glaze.
Look for a thick, store-bought balsamic reduction or make your own by simmering balsamic vinegar until it coats the back of a spoon. It should be viscous and glossy, not thin and watery.
The Ultimate Caprese Tortellini Skewers Recipe
Caprese Tortellini Skewers with Balsamic Glaze
Ingredients
Equipment
Method
- Boil the cheese tortellini in salted water for 2-4 minutes until al dente. Drain and rinse with cold water to stop the cooking and prevent sticking.
- Wash the tomatoes and basil. Fold the basil leaves in half. Drain the mozzarella pearls and pat dry with a paper towel.
- Thread one tortellini onto a 4-inch wooden skewer. Add a folded basil leaf, a mozzarella pearl, and top with a cherry tomato.
- Arrange on a white platter. Drizzle generously with thick mahogany balsamic glaze and sprinkle with flaky sea salt and cracked black pepper.
Notes
Ensure tortellini is cooled completely before assembly to prevent melting the cheese pearls.
Join the Conversation!
I hope these Caprese Tortellini Skewers become a staple at your next gathering! The combination of glossy glaze and fresh ingredients never fails to impress. If you make these, please save this recipe to your Pinterest Appetizer board so you never lose it!
Did yours turn out as beautiful as the photos? Share a photo of your platter in the comments below and don’t forget to leave a 5-star rating if you loved the recipe. Following me for more Pinterest-ready recipes is the best way to keep your kitchen inspired!