There is nothing quite like the nostalgic, indulgent pull of a Cookie Dough Bar. If you have ever found yourself hovering over a bowl of raw dough, spatula in hand, this recipe is your permission slip to indulge safely. These bars are thick, fudgy, and specifically designed to be eaten without a single second of oven time for the dough itself.
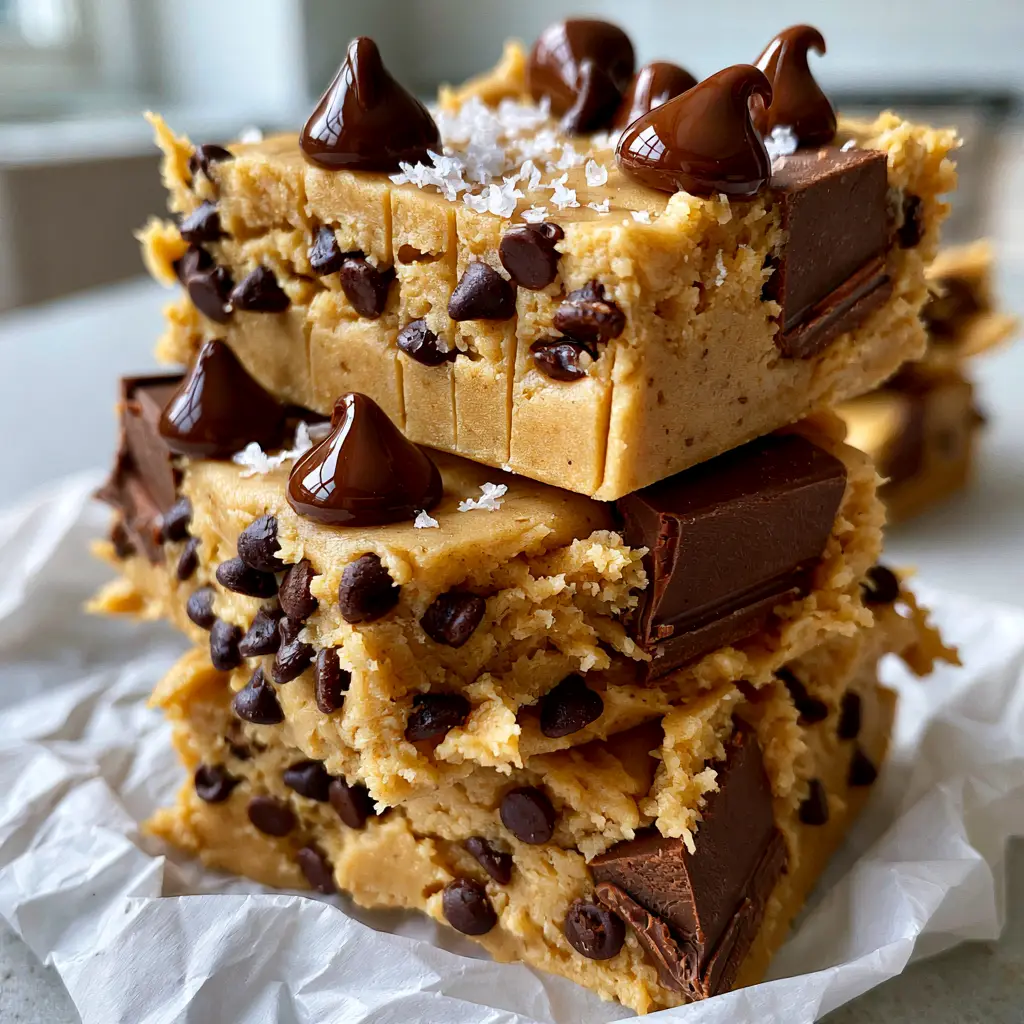
Every bite of this Cookie Dough Bar delivers a creamy, melt-in-your-mouth golden texture that rivals the center of the best underbaked cookie. We are talking about a dense base packed with mini dark chocolate chips and glossy semi-sweet chocolate chunks, all finished with a delicate crunch of flaky sea salt. It is the ultimate elevated childhood treat.
Whether you are looking for the perfect addition to your midnight snacks rotation or a show-stopping dessert for a party, these bars are the answer. They look professional, taste like a gourmet bakery find, and require zero eggs, making them 100% safe to devour by the square.
Why You Will Obsess Over This Creamy Cookie Dough Bar
- Forensic Texture Accuracy: These bars feature a fudgy, eggless base that remains soft and creamy even after chilling.
- Triple Chocolate Threat: We use a combination of mini chips for distribution and large chunks for those iconic glossy chocolate pools.
- Perfect Visual Contrast: The golden dough pops against crinkled white parchment paper, topped with flaky Maldon sea salt for a gourmet finish.
- No-Bake Ease: Aside from heat-treating the flour for safety, this is a completely no-bake dessert that saves oven space.
If you love dense, chewy treats, you might also want to try my fudgy banana brownies or these decadent Oreo stuffed chocolate chip cookies. But today, it is all about the pure, unadulterated joy of the Cookie Dough Bar.
The Essential Ingredients for Fudgy Results
To achieve that specific creamy cookie dough texture, every ingredient serves a scientific purpose. We aren’t just mixing sugar and butter; we are building an emulsion that stays stable at room temperature.
Heat-Treated All-Purpose Flour: 2 cups (250g). Raw flour can carry bacteria, so we toast it slightly to make it safe to eat while adding a subtle nutty aroma.
Unsalted Butter: 1 cup (225g), softened. Butter provides the fat needed for that melt-in-your-mouth feel. Ensure it is high-quality for the best flavor profile.
Light Brown Sugar: 1 cup (200g), packed. The molasses in brown sugar is the secret to the “fudgy” element and the deep golden color of the Cookie Dough Bar.
Granulated Sugar: 1/4 cup (50g). This adds necessary sweetness and helps slightly with the structure of the bars.
Whole Milk or Heavy Cream: 3 tablespoons (45ml). Since we are omitting eggs, we need a liquid binder to keep the dough hydrated and creamy.
Vanilla Extract: 2 teaspoons (10ml). Use pure vanilla to elevate the dough from basic to bakery-standard.
Mini Dark Chocolate Chips: 1/2 cup (90g). These ensure you get chocolate in every single tiny bite.
Semi-Sweet Chocolate Chunks: 1/2 cup (90g). These create the glossy chocolate chunks that look so appetizing in photos.
Flaky Sea Salt: A generous sprinkle. This cuts through the sugar and makes the chocolate flavors explode on your palate.
Step-by-Step Instructions for the Perfect Stack
1. Safety First: Heat-Treating the Flour
Preheat your oven to 350°F (175°C). Spread your 2 cups (250g) of flour on a baking sheet and bake for 7-10 minutes. You are looking for an internal temperature of 160°F (71°C). Once done, let it cool completely. Sifting the flour after heating is a pro-move to remove any clumps caused by the heat.
2. Creaming for Texture
In a large bowl, beat the softened butter, brown sugar, and granulated sugar together. Use a hand mixer or stand mixer on medium-high for at least 3 minutes. You want the mixture to look pale and fluffy. This aeration is what creates the creamy cookie dough texture rather than a greasy brick.
3. Incorporating the Flavors
Add the vanilla extract and the milk (or cream). Beat again until combined. Slowly add the cooled, heat-treated flour and a pinch of fine sea salt. Mix on low until a soft dough forms. If the dough feels too crumbly, add an extra teaspoon of milk until it holds together when pressed.
4. The Chocolate Fold
Using a spatula, gently fold in the mini dark chocolate chips and half of the semi-sweet chocolate chunks. Reserve the rest of the chunks to press into the top for that Pinterest-perfect visual appeal. If you enjoy this flavor profile, you’ll love my cookie dough granola for breakfast!
5. Pressing and Chilling
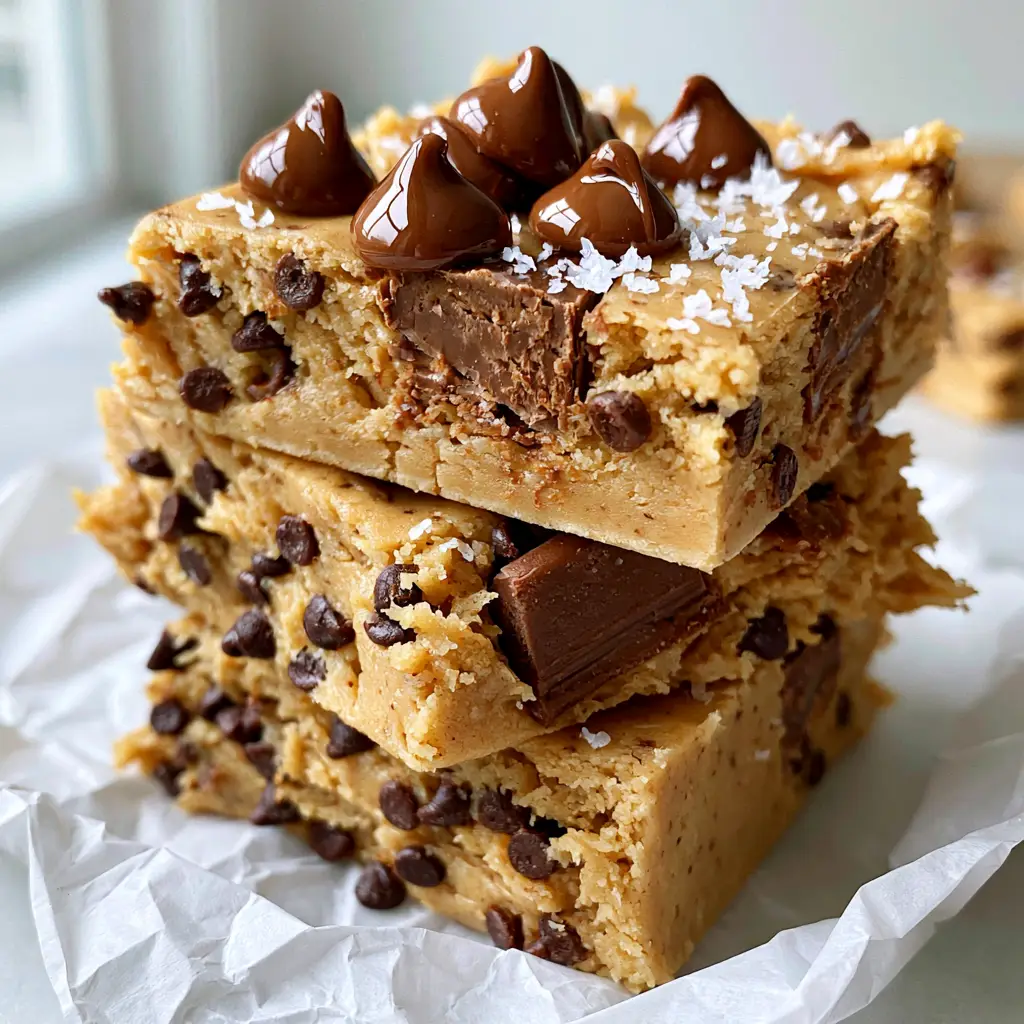
Line an 8×8 inch (20x20cm) square pan with crinkled white parchment paper, leaving an overhang on the sides for easy removal. Press the dough firmly into an even layer. Scatter the remaining glossy chips on top and press them in slightly. Sprinkle with flaky Maldon sea salt.
6. The Clean Slice
Chill the Cookie Dough Bar pan in the refrigerator for at least 1 hour. This sets the fats and allows the flavors to meld. To get those sharp, clean edges seen in the photos, use a hot knife (dipped in hot water and wiped dry) to slice the bars into neat squares.
Expert Tips for Pinterest-Worthy Bars
- Don’t Skip the Sift: Heat-treated flour tends to clump. Sifting it ensures your bars aren’t gritty.
- Room Temp Butter: If your butter is too cold, it won’t cream; if it’s melted, your bars will be oily. Aim for “cool room temperature.”
- The Parchment Hack: Crinkling the parchment paper before lining the pan not only looks great for photos but helps it stay in place while you press the dough.
- Size Matters: Use a mix of mini chips and large chunks. The variety in chocolate sizes creates a more complex mouthfeel and a better visual “stack.”
How to Store and Save Your Cookie Dough Bars
Because these bars contain dairy, they should not be left on the counter for more than a few hours. Store them in an airtight container in the refrigerator for up to 7 days. They actually taste even more fudgy when eaten cold!
For long-term storage, these Cookie Dough Bars freeze beautifully. Wrap individual squares in plastic wrap and place them in a freezer bag for up to 3 months. This makes them the perfect companion to other freezer-friendly treats like peanut butter cheerio bars.
What to Serve With These Bars
These bars are incredibly rich, so they pair best with something that offers a bit of contrast. A cold glass of milk is the classic choice, but if you want to lean into the trend, serve them alongside a dirty soda for a true sugar rush.
For a sophisticated dessert platter, serve these squares next to fresh fruit like watermelon canapes to cleanse the palate between those dense, chocolatey bites.
Frequently Asked Questions
Absolutely! However, a mix of mini chips and large chunks provides the best texture and visual appeal. Chunks create those ‘glossy pools’ of chocolate that define a gourmet Cookie Dough Bar.
Yes. Because the recipe contains butter and milk, and because the texture is best when set, it is highly recommended to store them in the fridge.
In an airtight container in the refrigerator, these bars stay fresh and fudgy for up to 7 days. You can also freeze them for up to 3 months.
Yes, but only if you heat-treat it first. Toasting the flour at 350°F (175°C) until it reaches an internal temperature of 160°F (71°C) kills any potential bacteria, making it safe for no-bake treats.
Crumbly dough usually means it needs a bit more moisture. Add milk or heavy cream one teaspoon at a time until the dough holds together when pressed. Also, ensure your butter was properly softened, not cold.
The Ultimate Fudgy Cookie Dough Bar Recipe
Cookie Dough Bar: The Ultimate Fudgy Eggless Dessert Recipe
Ingredients
Equipment
Method
- Bake all-purpose flour at 350°F (175°C) for 7-10 minutes until it reaches 160°F (71°C) to ensure it is safe for raw consumption.
- Beat softened butter with brown and white sugars for 3 minutes until pale and fluffy.
- Mix in vanilla and milk, then gradually add cooled flour until a thick dough forms.
- Fold in the mini chips and half of the chunks, reserving some for the top.
- Press dough into a lined 8x8 pan, add remaining chunks and flaky salt, then chill for 1 hour before slicing.
Notes
Use a hot knife for the cleanest slices.
Join the Community!
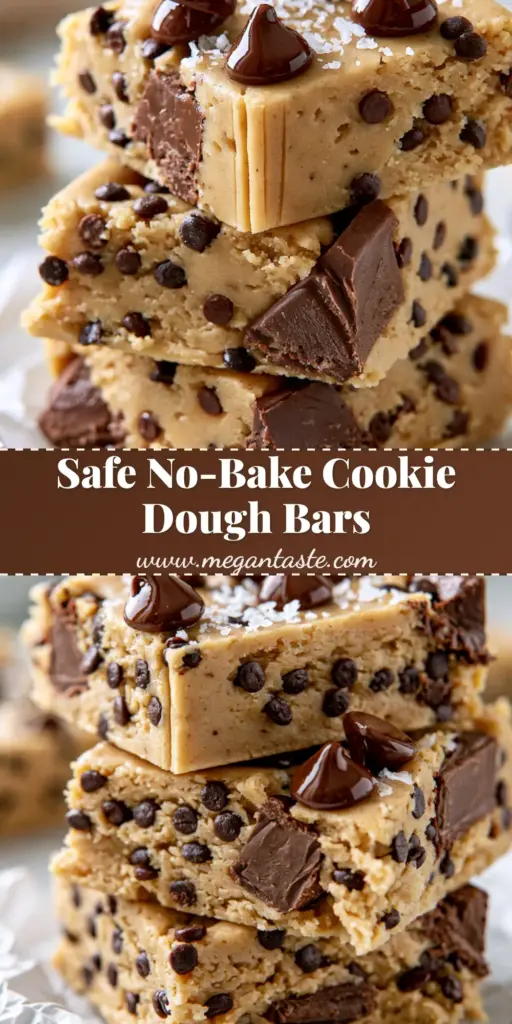
Did you make these Cookie Dough Bars? I want to see your fudgy stacks! Save this recipe to your “Dessert Goals” board on Pinterest and follow megan_taste for more indulgent treats. If you snapped a photo of your glossy chocolate chunks and flaky salt, share it in the comments below or tag me on social media! Please leave a 5-star rating if you loved this recipe—it helps other home cooks find these safe-to-eat treats!