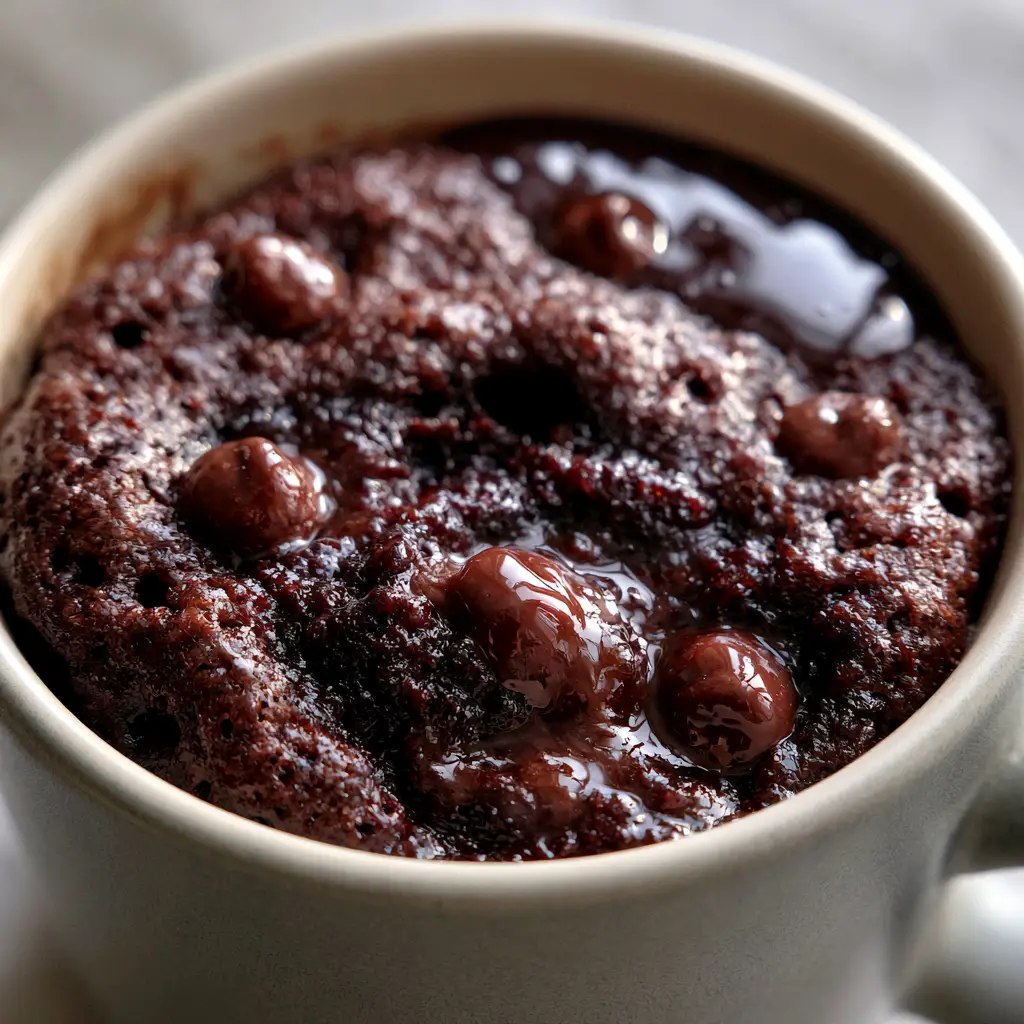
When those late-night cravings hit, nothing satisfies quite like a microwave brownie that tastes like it came straight from a gourmet bakery. This isn’t your average dry, spongy mug cake; we are talking about a fudgy chocolate mug cake with a dense, molten center that rivals the best brownie recipe you’ve ever baked in an oven. The secret lies in the balance of fats and the precise microwave timing to achieve that perfect, gooey texture.
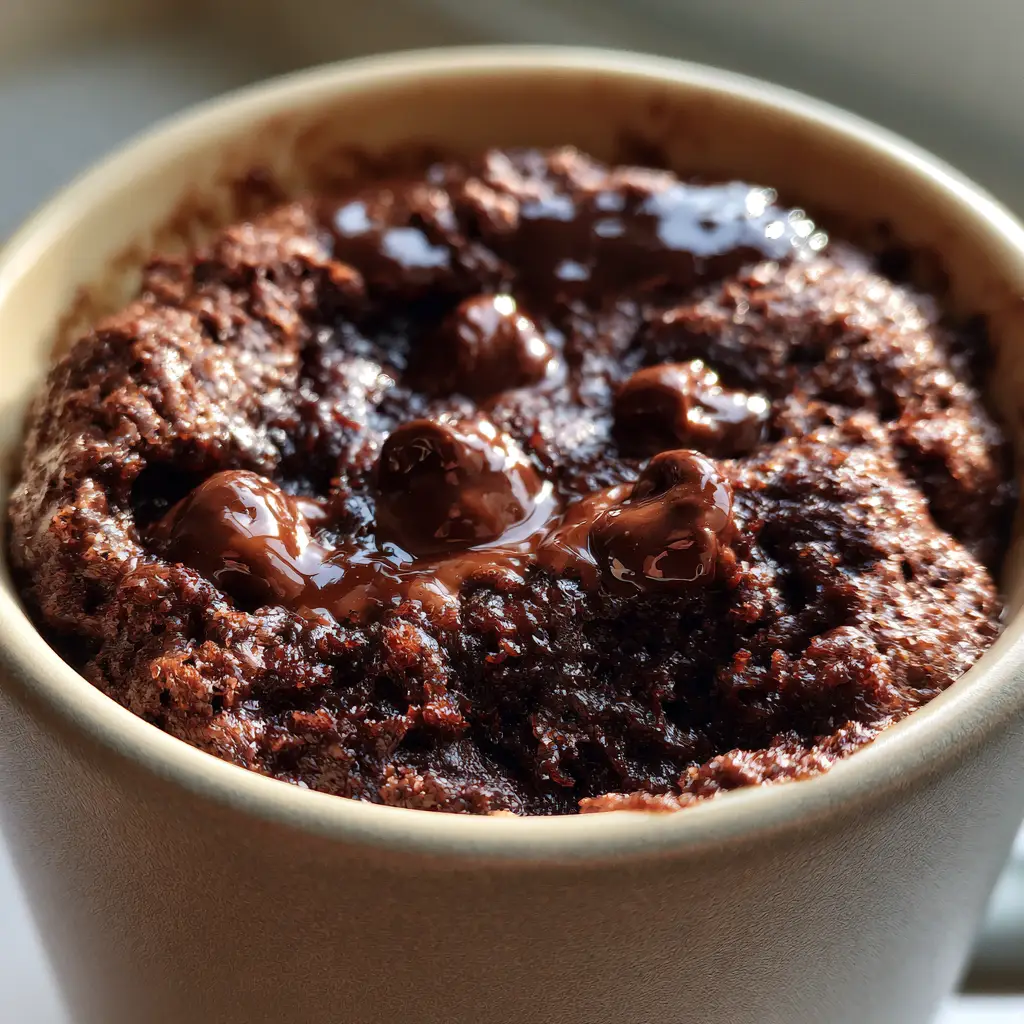
Imagine diving your spoon into a warm, matte ceramic mug to find a rich, dark chocolate interior studded with glossy melted chocolate chips. To take it over the edge, we finish it with a shimmering, glossy chocolate glaze that pools beautifully over the top, catching the light and promising pure indulgence in every bite. This is the king of midnight snacks, and it’s ready in under two minutes.
Why This Fudgy Mug Brownie Works
- Ultra-Fudgy Texture: By omitting eggs, we avoid the “rubbery” texture common in microwave baking, resulting in a molten center.
- Visual Perfection: The contrast between the matte ceramic mug and the glistening chocolate glaze makes this a Pinterest-worthy dessert.
- Perfect Portability: Since it’s made entirely in one mug, it’s the ultimate single-serve treat with zero cleanup.
- Pantry Staples Only: You likely have every single ingredient in your kitchen right now to make this microwave brownie.
The Architecture of a Perfect Microwave Brownie
Creating a microwave brownie that actually tastes good requires understanding the unique way microwaves heat food. Unlike an oven, which cooks from the outside in, a microwave vibrates water molecules, which can lead to rapid drying if you aren’t careful. Every ingredient in this list serves a specific purpose to ensure your fudgy chocolate mug cake stays moist and rich.
All-Purpose Flour: 1/4 cup (30g). This provides the structure. Avoid packing the flour; spoon and level it to ensure the cake isn’t too dense or heavy.
Granulated Sugar: 1/4 cup (50g). Sugar doesn’t just add sweetness; it liquefies when heated, contributing significantly to the molten center and fudgy mouthfeel.
Unsweetened Cocoa Powder: 2 tablespoons (15g). Use a high-quality Dutch-processed cocoa for a deeper, darker chocolate flavor that mimics a professional microwave brownie.
Salt: 1 pinch. A tiny bit of salt is the “flavor volume knob” that makes the chocolate notes sing.
Melted Butter or Neutral Oil: 2 tablespoons (30ml). Fat is the enemy of “spongy” textures. Butter adds flavor, while oil (like canola or vegetable) ensures a glossy, moist crumb.
Whole Milk: 3 tablespoons (45ml). This provides the hydration needed to activate the flour without making it runny.
Vanilla Extract: 1/4 teaspoon (1.25ml). An essential aromatic that bridges the gap between “homemade” and “gourmet.”
Semi-Sweet Chocolate Chips: 2 tablespoons (30g). These are non-negotiable for creating those melted semi-sweet chocolate chips that catch the light in your matte ceramic mug.
Step-By-Step: Crafting Your Fudgy Chocolate Mug Cake
1. The Dry Mix Foundation
Start by selecting a matte ceramic mug (approx. 10-12 oz). In the mug, whisk together your flour, sugar, cocoa powder, and salt. Use a small fork to break up any large cocoa lumps. This ensures an even rise and prevents pockets of dry flour in your microwave brownie.
2. Emulsifying the Batter
Pour in your melted butter (or oil), milk, and vanilla extract. Stir gently until the batter is smooth and glossy. You want a thick, ribbon-like consistency. Do not overmix, as this can develop the gluten and make the brownie tough rather than fudgy.
3. Adding the “Melting Hearts”
Fold in 1.5 tablespoons of the semi-sweet chocolate chips. Push a few of them down into the center of the batter. These will transform into the molten chocolate pockets that make this recipe famous on Pinterest.
4. The Precision Microwave Pulse
Place the mug in the center of your microwave. Heat on high for 50 to 70 seconds. Visual Cue: The edges should look set, but the center should still look slightly damp and glistening. It will continue to firm up as it rests. Overcooking is the #1 reason microwave brownies fail!
5. The Finishing Glossy Glaze
While the brownie rests for 1 minute, whisk together 1 teaspoon of cocoa powder, 1 tablespoon of powdered sugar, and a few drops of water until a glossy chocolate glaze forms. Drizzle this over the warm cake so it pools in the crevices.
Expert Tips for the Ultimate Pinterest Aesthetic
To get that macro close-up look from our visual blueprint, follow these professional tips:
- The Mug Choice: Use a matte ceramic mug in a neutral tone (white, grey, or cream). The matte finish prevents glare and makes the glossy chocolate glaze pop.
- Lighting is Key: Set your mug near a window for “soft natural side-light.” This highlights the molten center and the texture of the melted chocolate chips.
- The Under-Cook Rule: If you think it needs 10 more seconds, it’s probably done. A microwave brownie carries residual heat that finishes the cooking process.
- Garnish for Growth: A tiny sprinkle of flaky sea salt on top of the glistening chocolate glaze adds a professional touch that boosts “saves” on Pinterest.
Variations: Making the Microwave Brownie Your Own
If you love this recipe, you might want to try adding a dollop of peanut butter to the center, similar to the flavors in snickers stuffed peanut butter cupcakes (coming soon). Alternatively, you can swap the milk for a dairy-free alternative to make it vegan-friendly. For a fruity twist, serve it alongside some Japanese strawberry shortcake inspired whipped cream and fresh berries.
Storage and Reheating
This microwave brownie is designed to be eaten immediately. However, if you have leftovers, cover the mug with plastic wrap and store at room temperature for up to 24 hours. To reheat, microwave for just 10-15 seconds to loosen up those melted chocolate chips again.
What to Serve With Your Brownie
While this mug cake is a star on its own, it pairs beautifully with a scoop of vanilla bean ice cream or a glass of whipped pink lemonade for a fun contrast of flavors. If you’re looking for more single-serve inspiration, check out our guide on how to make cake pops for your next party.
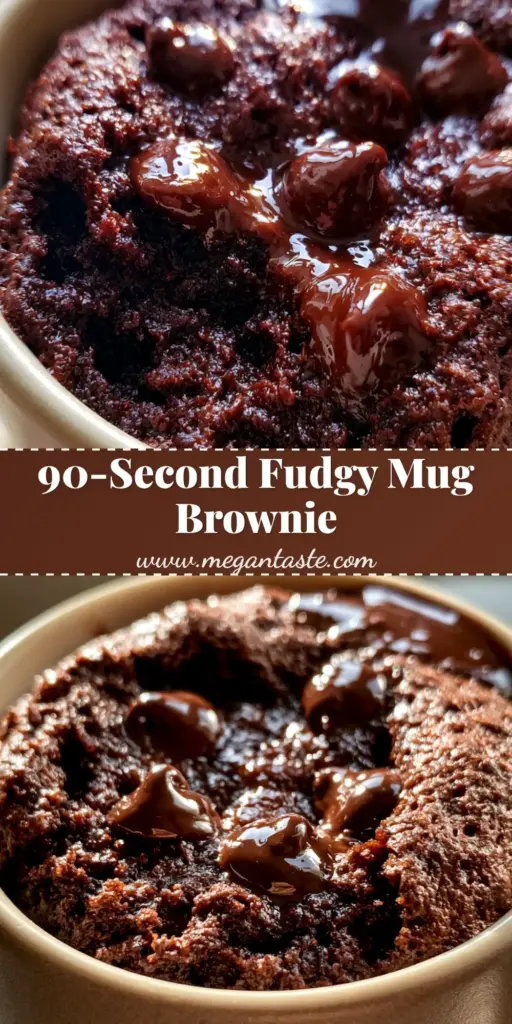
The 1-Minute Fudgy Microwave Brownie Recipe
Yes! Simply swap the whole milk for almond, soy, or oat milk, and use melted coconut oil or a vegan butter substitute. Ensure your chocolate chips are dairy-free.
The recipe uses both for the best flavor! The cocoa powder provides the chocolate base, while the semi-sweet chips create the molten, gooey pockets essential for a fudgy brownie.
The edges should be firm and starting to pull away slightly from the mug, but the very center (about the size of a nickel) should still look glistening and a bit underdone. It will finish cooking as it rests.
A wide, shallow 10-12 oz matte ceramic mug is best. It allows the heat to distribute more evenly, creating a brownie-like texture rather than a tall, narrow cake.
Rubbery texture is usually caused by overcooking or adding too much egg. This recipe is egg-free to ensure a fudgy, rather than spongy, consistency. Always stop the microwave when the center still looks slightly damp.
Microwave Brownie: The Ultimate 1-Minute Fudgy Mug Cake Recipe
Ingredients
Equipment
Method
- In a 10-12 oz matte ceramic mug, whisk together flour, sugar, cocoa powder, and salt until no large lumps remain.
- Stir in the melted butter, milk, and vanilla extract until the batter is smooth and glossy.
- Stir in most of the chocolate chips, pushing a few into the center of the batter for a molten core.
- Microwave on high for 50-70 seconds. The center should look slightly moist but the edges should be set.
- Whisk glaze ingredients and drizzle over the warm brownie. Let rest for 1 minute before serving.
Notes
Use a wide mug for a more even 'brownie' texture rather than a tall 'cake' texture.
Share Your Fudgy Creations!
Did you master the molten center? We want to see your results! Save this recipe to your Dessert Recipes board on Pinterest so you never lose it. If you made this microwave brownie, please leave a 5-star rating and upload a photo of your mug in the comments below. Follow @megan_taste for more 1-minute treats and decadent desserts!