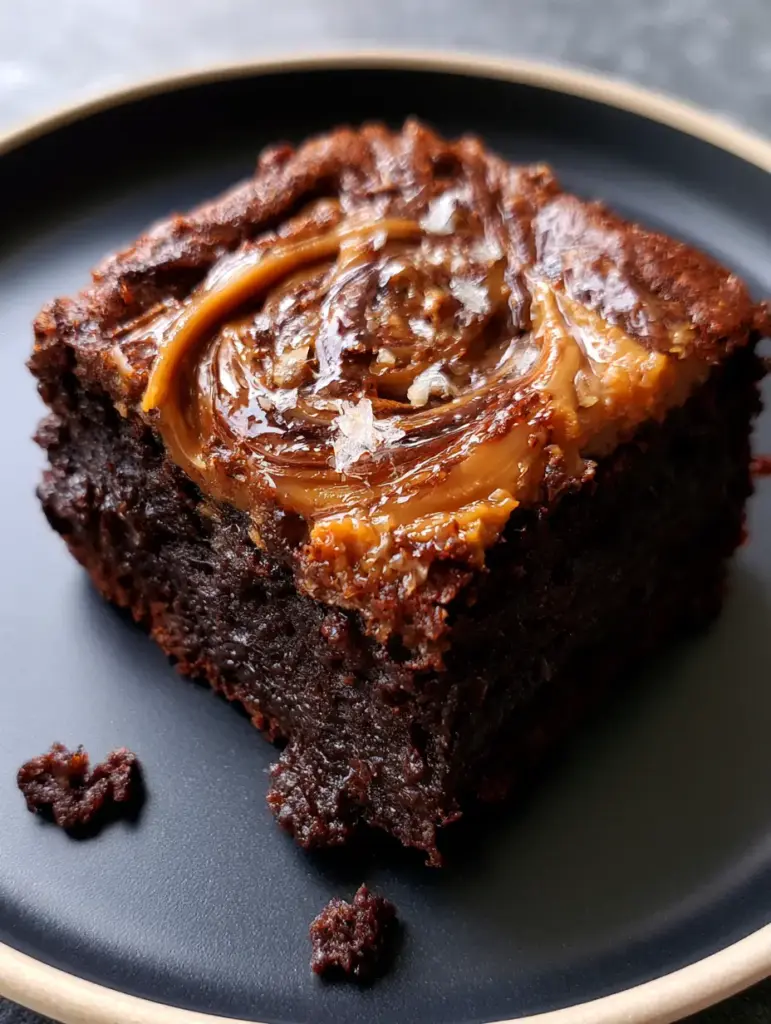
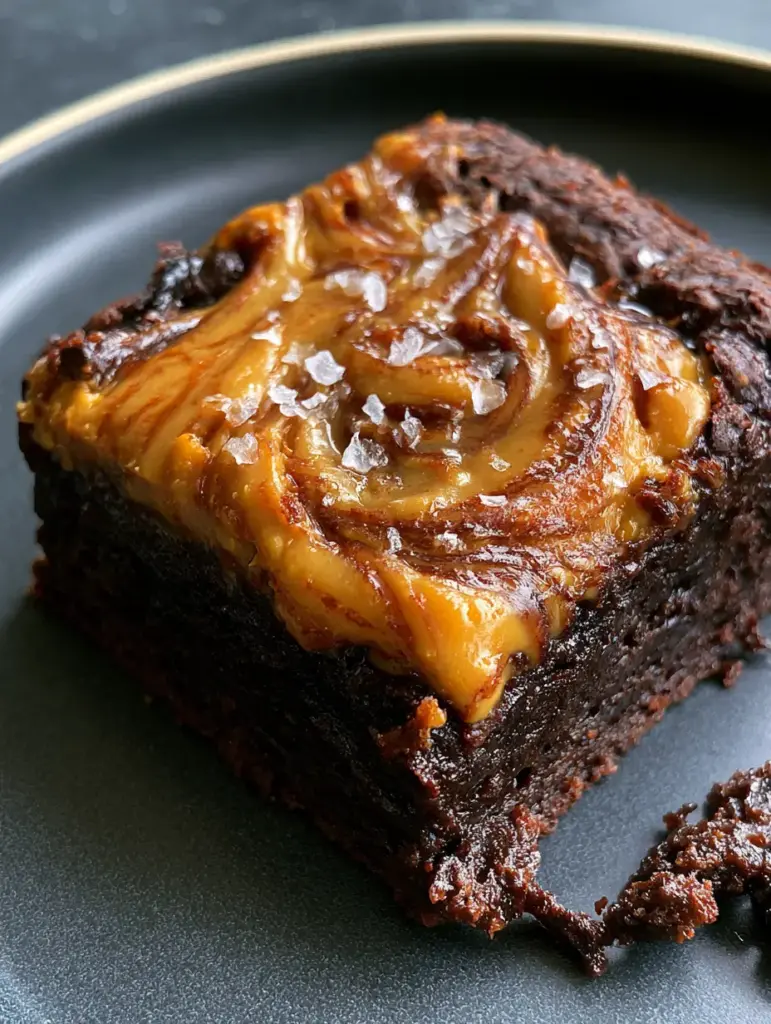
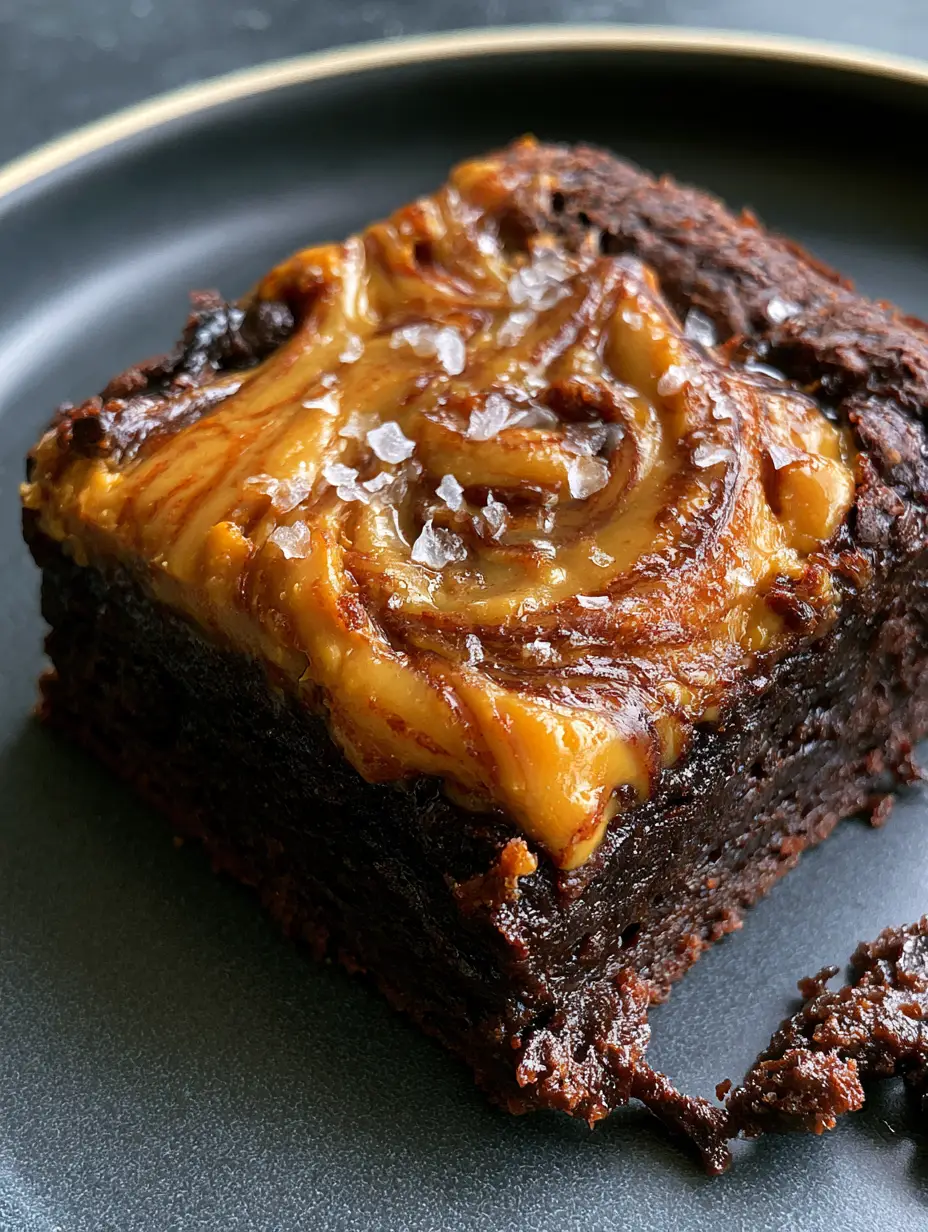
Peanut butter brownies are the holy grail of dessert bars, combining a rich, dense dark chocolate base with a glossy marbled swirl of creamy nut butter. If you have been searching for that perfect balance of salty and sweet, this recipe delivers a decadent, gooey texture that melts in your mouth. Every bite is accented by sparkling flakes of Maldon sea salt, creating a professional-grade treat that looks like it stepped off a gourmet bakery shelf.
Whether you are looking for the ultimate midnight snacks or a show-stopping dessert for a party, these peanut butter brownies provide a sensory experience unlike any other. The contrast between the ultra-fudgy chocolate and the golden-brown peanut butter creates a visual masterpiece that is almost too beautiful to eat. Almost.
Why You Will Crave These Fudgy Peanut Butter Brownies
- Visual Masterpiece: The high-contrast golden-brown peanut butter swirls against the dark chocolate base make these highly clickable for Pinterest.
- Superior Texture: We use a specific ratio of fats to ensure a dense, gooey, dark chocolate texture without being cakey.
- Salty-Sweet Balance: The addition of flaky Maldon sea salt cuts through the richness, elevating the cocoa notes.
- Moist Chocolate Crumbs: A slightly underbaked center ensures every square is loaded with moist brownie crumbs.
The Secret Ingredients for Gourmet Peanut Butter Brownies
Creating the perfect brownie requires high-quality fats and specific types of sugar to achieve that glossy top and chewy edge. Unlike a standard microwave brownie, this baked version focuses on layering flavors for depth.
- Unsalted Butter (225g / 1 cup): Provides the fat base. We melt it to ensure a fudgy, dense texture rather than a fluffy one.
- Dark Chocolate Chips (170g / 1 cup): We melt these into the butter for an intense chocolate foundation.
- Granulated Sugar (200g / 1 cup) & Brown Sugar (110g / ½ cup): The white sugar helps create the crackly top, while brown sugar adds moisture and chew.
- Large Eggs (3): These provide structure. Room temperature eggs emulsify better into the batter.
- Dutch-Process Cocoa Powder (45g / ½ cup): This offers a darker color and smoother flavor than natural cocoa, perfect for our dark chocolate brownie base.
- All-Purpose Flour (125g / 1 cup): Just enough to hold it together without making it cakey.
- Creamy Peanut Butter (130g / ½ cup): Use a stabilized creamy brand (like Jif or Skippy) for the best glossy swirl results.
- Maldon Sea Salt: Essential for those sparkling flakes that define the visual blueprint.
How to Make the Perfect Peanut Butter Brownie Swirl
Step 1: Melting the Chocolate Foundation
Start by melting your butter and dark chocolate chips together in a heat-proof bowl. You can use a double boiler or 30-second bursts in the microwave. Stir until the mixture is smooth, glossy, and dark. This is the secret to a dense, gooey chocolate texture.
Step 2: Aerating the Eggs and Sugars
Whisk the eggs, granulated sugar, and brown sugar vigorously for 2-3 minutes. You want to see the mixture become pale and slightly frothy. This process is what creates the signature crackly brownie crust that Pinterest users love.
Step 3: Folding in the Dry Ingredients
Gently fold the melted chocolate mixture into the eggs. Sift in the cocoa powder, flour, and a pinch of salt. Use a spatula to fold until no streaks of flour remain. The batter should be thick, dark, and look like heavy velvet. If you love this base, you should also try our fudgy cocoa brownies.
Step 4: Creating the Glossy Peanut Butter Swirl
Pour the chocolate batter into a lined 8×8 inch (20×20 cm) pan. Warm the peanut butter in the microwave for 15 seconds until it is slightly fluid. Drop spoonfuls of the creamy golden-brown peanut butter across the surface. Use a tooth pick or knife to gently marble the two, creating a glossy, marbled swirl.
Step 5: The Perfect Bake and Finish
Bake at 350°F (175°C) for 25-30 minutes. The edges should be set, but the center should still have a slight wobble. Crucial Step: Immediately upon removing from the oven, sprinkle the top with sparkling flakes of Maldon sea salt. Let them cool completely in the pan to ensure you get those perfectly moist chocolate crumbs when slicing.
Expert Tips for Pinterest-Perfect Brownies
- Don’t Over-Swirl: To get that high-contrast marbled look, only move your knife through the peanut butter a few times. If you over-mix, it will just turn into a muddy brown color.
- The Tap Technique: Halfway through baking, gently tap the baking pan against the oven rack. This releases air bubbles and creates a denser, more fudgy brownie.
- Room Temp Peanut Butter: Ensure your peanut butter is slightly warm. Cold peanut butter is too stiff to swirl and will sink to the bottom.
- Sharp Cuts: For those clean, professional edges, wipe your knife clean with a warm damp cloth between every single cut.
Storage, Reheating, and Freezing
These peanut butter brownies stay incredibly moist thanks to the high fat content. Store them in an airtight container at room temperature for up to 4 days. If you prefer a chewy, fudgy texture, eat them slightly chilled from the fridge.
To freeze, wrap individual squares in plastic wrap and place them in a freezer bag. They will stay fresh for up to 3 months. Simply thaw at room temperature for an hour before serving. If you want a warm treat, a 10-second zap in the microwave will make the peanut butter swirl gooey again, similar to the center of our snickers stuffed peanut butter cupcakes (coming soon).
What to Serve With Peanut Butter Brownies
These brownies are intensely rich, so they pair best with something that provides a clean contrast. A cold glass of whole milk is the classic choice. For a more sophisticated pairing, serve a square with a scoop of vanilla bean gelato or a dollop of peanut butter frosting for a “double peanut” experience.
If you are hosting a dessert party, these look stunning alongside oreo stuffed chocolate chip cookies and a platter of fresh fruit to cleanse the palate.
Frequently Asked Questions
Natural peanut butter can be oily and may separate during baking. For the best glossy swirl, use a stabilized creamy peanut butter like Jif or Skippy.
The edges should be firm and starting to pull away from the pan, but the center should still have a slight jiggle. They will firm up as they cool to create that fudgy texture.
Always use unsalted butter so you can control the salt level. The contrast comes from the Maldon sea salt flakes added at the end, rather than hidden salt in the batter.
Cakey brownies usually result from too much flour or over-whisking the batter after the flour is added. Fold in the dry ingredients gently and only until just combined.
The crackly top comes from properly aerating the eggs and sugar. Be sure to whisk them for at least 2-3 minutes until the mixture is pale and frothy before adding the chocolate.
The Ultimate Peanut Butter Brownie Recipe Card
Peanut butter brownies: The Ultimate Fudgy Swirl Recipe
Ingredients
Equipment
Method
- Melt the butter and dark chocolate chips together until smooth and glossy.
- Whisk the eggs and both sugars for 2-3 minutes until pale and frothy for a crackly top.
- Fold the chocolate mixture into the eggs, then fold in the sifted cocoa powder and flour until just combined.
- Pour batter into the pan. Drop spoonfuls of warmed peanut butter on top and swirl with a knife to create a marbled effect.
- Bake at 350°F (175°C) for 25-30 minutes until the edges are set but the center remains fudgy.
- Sprinkle immediately with Maldon sea salt and let cool before slicing into squares.
Notes
Use a warm knife for clean cuts.
Share Your Fudgy Creations!
Did you make these peanut butter brownies? I want to see your glossy marbled swirls! Tag @megan_taste on Pinterest or Instagram so I can share your beautiful bakes. Don’t forget to Save this Pin to your favorite dessert board so you never lose this recipe. If you loved the fudgy dark chocolate base, please leave a 5-star rating and a comment below with your results!