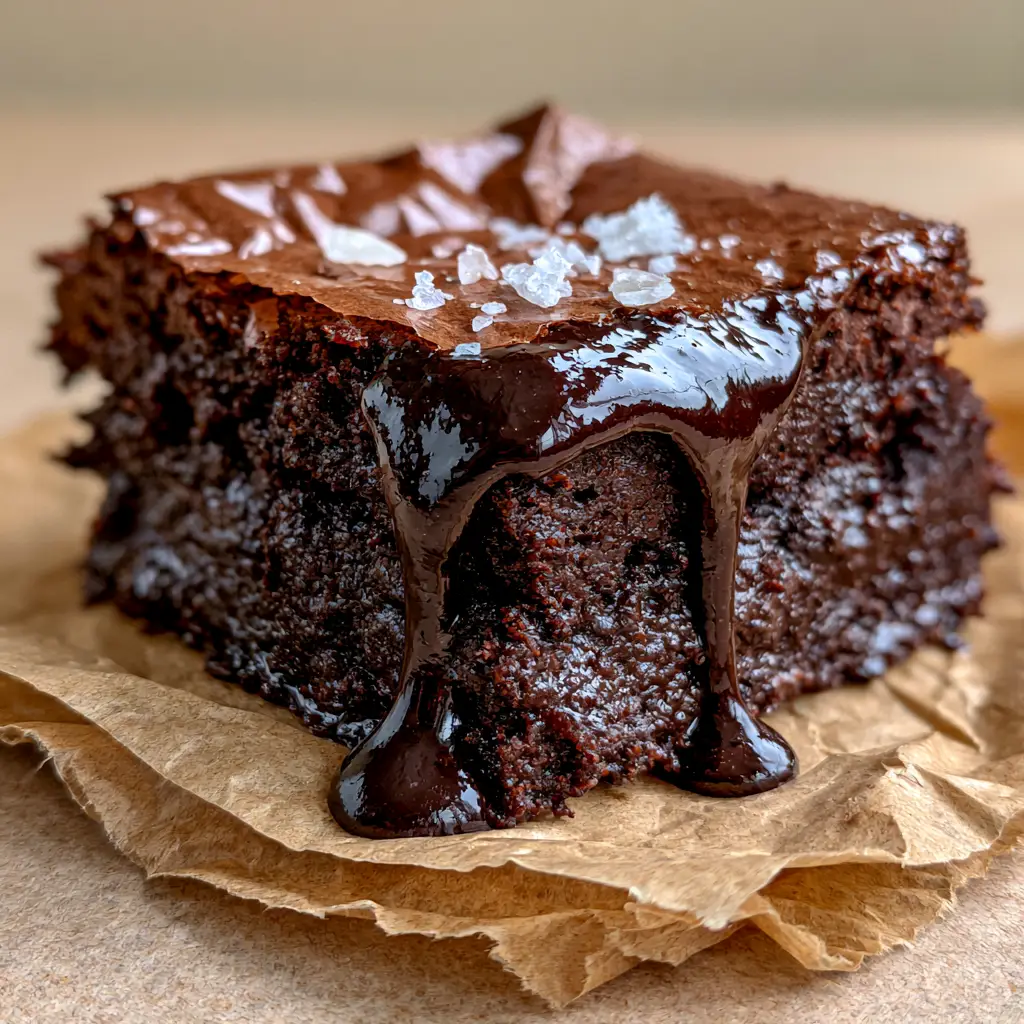
Fudgy Cocoa Brownies are the ultimate holy grail for chocolate lovers seeking that perfect balance of a gooey, dense center and a paper-thin, shiny crinkled top. If you have been searching for a recipe that delivers a handheld smartphone photo-worthy result every single time, you are in the right place. This recipe focuses on high-quality cocoa powder and a specific whisking technique to ensure your brownies look exactly like a professional bakery display, complete with a glossy dark chocolate sauce drizzle and a pinch of flaky Maldon sea salt.
Why You Will Obsess Over These Fudgy Cocoa Brownies
- The Perfect Texture: An incredibly dense, ultra-moist, gooey fudge center that melts in your mouth.
- The Signature Crust: A delicate, paper-thin shiny crinkled top crust that shatters when you bite into it.
- Visual Masterpiece: Plated on rustic crumpled brown parchment paper, these brownies are a Pinterest dream.
- Flavor Contrast: The bitterness of the dark chocolate sauce perfectly complements the salty flakes of Maldon sea salt.
Making a batch of these is much more satisfying than reaching for a box mix. While we love a quick microwave brownie for emergencies, these oven-baked squares are in a league of their own. If you enjoy experimenting with different textures, you might also want to try my banana brownies for a fruity twist or these decadent peanut butter brownies.
The Essential Ingredients for Gooey Perfection
To achieve the specific macro, eye-level look of a thick-cut chocolate brownie square, every ingredient serves a scientific purpose. Do not skip the salt or the vanilla, as they provide the depth needed to balance the intense cocoa.
1. Unsalted Butter: 1 cup (225g). We melt the butter to ensure a dense, fudgy crumb rather than a cakey one. Using melted fat prevents excess air from being trapped.
2. Granulated Sugar: 1 ½ cups (300g). Sugar is not just for sweetness; when whisked correctly with eggs, it creates the shiny crinkled crust.
3. Light Brown Sugar: ½ cup (100g). The molasses in brown sugar adds moisture and creates that gooey dense chocolate center we crave.
4. Large Eggs: 3 units, room temperature. Eggs provide structure. Whisking them vigorously is the secret to the paper-thin crust.
5. Pure Vanilla Extract: 1 tablespoon (15ml). A high dose of vanilla enhances the chocolate notes significantly.
6. Dutch-Processed Cocoa Powder: ¾ cup (75g). This is the star of our Fudgy Cocoa Brownies. Dutch-processed cocoa is darker and less acidic, giving that glistening dark chocolate appearance.
7. All-Purpose Flour: ¾ cup (95g). We use a minimal amount of flour to keep the brownies from becoming bread-like.
8. Sea Salt: ½ teaspoon (3g) for the batter, plus extra Maldon sea salt for finishing.
9. Dark Chocolate Sauce: ¼ cup (60ml) for the glistening dark chocolate sauce drizzle.
The Secret to the Paper-Thin Crinkle Crust
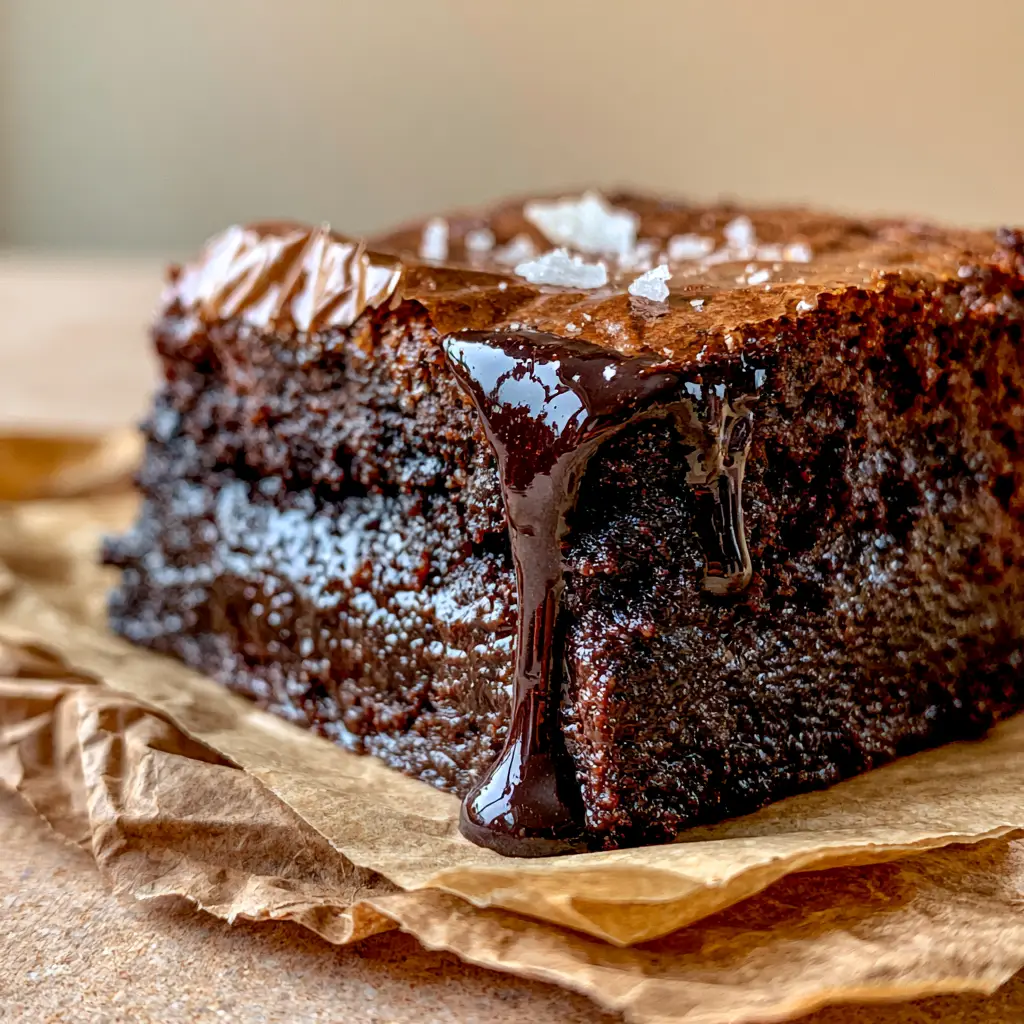
The most common question I get is how to achieve that shiny, crackly top. It is not magic; it is chemistry! The crust is essentially a thin layer of meringue that forms when the sugar dissolves into the eggs.
Step 1: Prep and Melt
Preheat your oven to 350°F (175°C). Line an 8×8 inch (20x20cm) square baking pan with crumpled brown parchment paper. Leaving an overhang helps you lift the thick-cut chocolate brownie square out easily later. Melt your butter in a large microwave-safe bowl in 30-second intervals until liquid and hot.
Step 2: The Vigorous Whisk
Add the granulated sugar and brown sugar to the hot butter. Whisk intensely for about 2 minutes. Add the eggs and vanilla, and continue to whisk for another 2-3 minutes. You want the mixture to become pale and slightly fluffy. This step is critical for the paper-thin crinkled top crust.
Step 3: Folding the Cocoa
Sift in the Dutch-processed cocoa powder, flour, and salt. Use a rubber spatula to gently fold the dry ingredients into the wet. Stop as soon as no streaks of flour remain. Over-mixing at this stage will introduce too much air, ruining the dense fudge center.
Step 4: The Bake
Pour the thick batter into your prepared pan. Smooth the top with a spatula. Bake for 25-30 minutes. Visual Cue: The edges should be set, but the center should still have a slight wobble. A toothpick inserted should come out with moist, fudgy crumbs, not wet batter.
Step 5: The Cooling Ritual
Allow the brownies to cool completely in the pan. This is the hardest part! As they cool, the center settles into that gooey, dense chocolate texture shown in the macro handheld photo. Once cool, lift them out using the parchment paper.
Expert Tips for Visual Excellence
- Use a Sharp Knife: For those thick-cut chocolate brownie square edges, wipe your knife clean with a warm, damp cloth between every single cut.
- The Sauce Drizzle: Use a spoon to let the glossy dark chocolate sauce slowly drip down the side of the cut brownie. This creates the “handheld smartphone photo” aesthetic.
- Salt Placement: Only add the flaky Maldon sea salt right before serving so the flakes don’t dissolve into the sauce.
- Room Temp Ingredients: Ensure your eggs are at room temperature so they emulsify perfectly with the melted butter and sugar.
Storage, Reheating & Freezing
These Fudgy Cocoa Brownies stay moist for days! Store them in an airtight container at room temperature for up to 4 days. If you prefer them extra gooey, pop a square in the microwave for 10 seconds before eating.
To freeze, wrap individual squares in plastic wrap and place them in a freezer bag. they will stay fresh for up to 3 months. This is perfect for when you need a quick fix for your midnight snacks.
What to Serve With These Brownies
While these are a masterpiece on their own, you can elevate the experience. Serve a warm square with a scoop of vanilla bean ice cream, or pair it with a glass of cold milk. If you’re hosting a party, these brownies look stunning next to oreo stuffed cookies or even festive watermelon canapes for a summer contrast.
Frequently Asked Questions
You can, but the brownies will be lighter in color and slightly more acidic. For the deep, dark look and rich flavor shown in the photos, Dutch-processed cocoa is highly recommended.
The secret is whisking the sugar and eggs vigorously for at least 2-3 minutes. This creates a thin meringue-like layer that rises to the top during baking, forming that signature paper-thin crust.
Bake until the edges are firm but the center still has a slight wobble. A toothpick inserted should have moist, sticky crumbs attached. If it comes out clean, they are overbaked and will be cakey.
The flaky Maldon sea salt provides a textural crunch and a sharp contrast to the sweetness of the glistening dark chocolate sauce, enhancing the overall cocoa flavor.
Granulated sugar helps create the crackly top crust, while brown sugar adds moisture and molasses, ensuring the center remains dense and fudgy.
The Ultimate Fudgy Cocoa Brownies Recipe
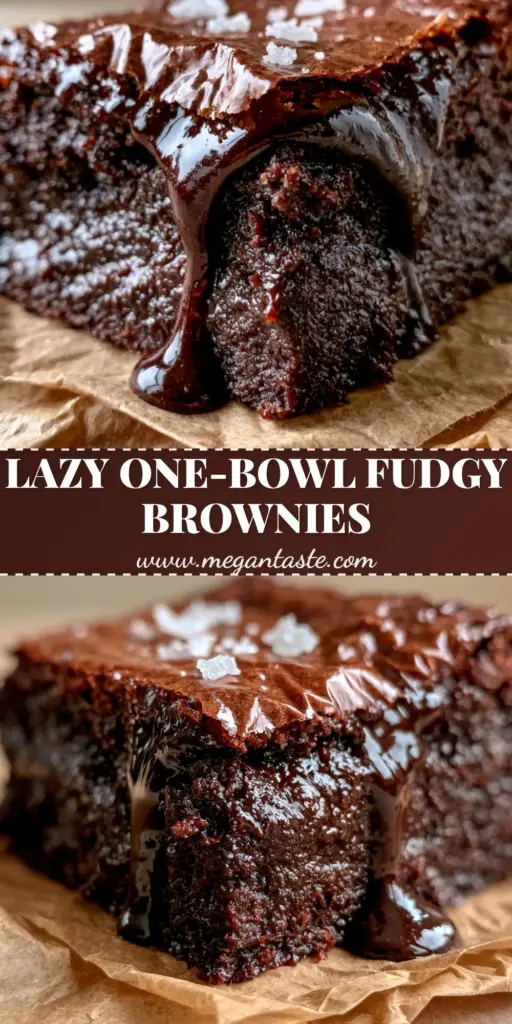
Fudgy Cocoa Brownies with a Paper-Thin Crinkle Crust
Ingredients
Equipment
Method
- Preheat oven to 350°F (175°C). Line an 8x8 inch pan with crumpled brown parchment paper.
- In a large bowl, whisk melted butter and both sugars vigorously for 2 minutes.
- Add eggs and vanilla; whisk for another 2-3 minutes until pale and glossy to ensure the crinkle crust.
- Gently fold in cocoa powder, flour, and salt with a spatula until just combined.
- Spread batter in pan and bake for 25-30 minutes until edges are set but center wobbles slightly.
- Cool completely. Drizzle with dark chocolate sauce and sprinkle with flaky Maldon sea salt.
Notes
Don't overbake; brownies continue to set as they cool.
Save, Share, and Rate!
If you loved these Fudgy Cocoa Brownies, please save this recipe to your Pinterest Dessert Board so you can find it later! Following me on Pinterest @megan_taste helps support my kitchen. Did you get that perfect crinkle top? I want to see! Share a photo of your brownies in the comments below or tag me on social media. Finally, please leave a 5-star rating in the recipe card above if this is now your go-to brownie recipe!